

Seed Starting is an Art

In the Garden with Rachel
Starting Seeds Indoors in West Texas
It is time! I know, I know. February may not seem like the time to get out the seed trays and sow the beginnings of this years garden, but it really is the ideal time to start!
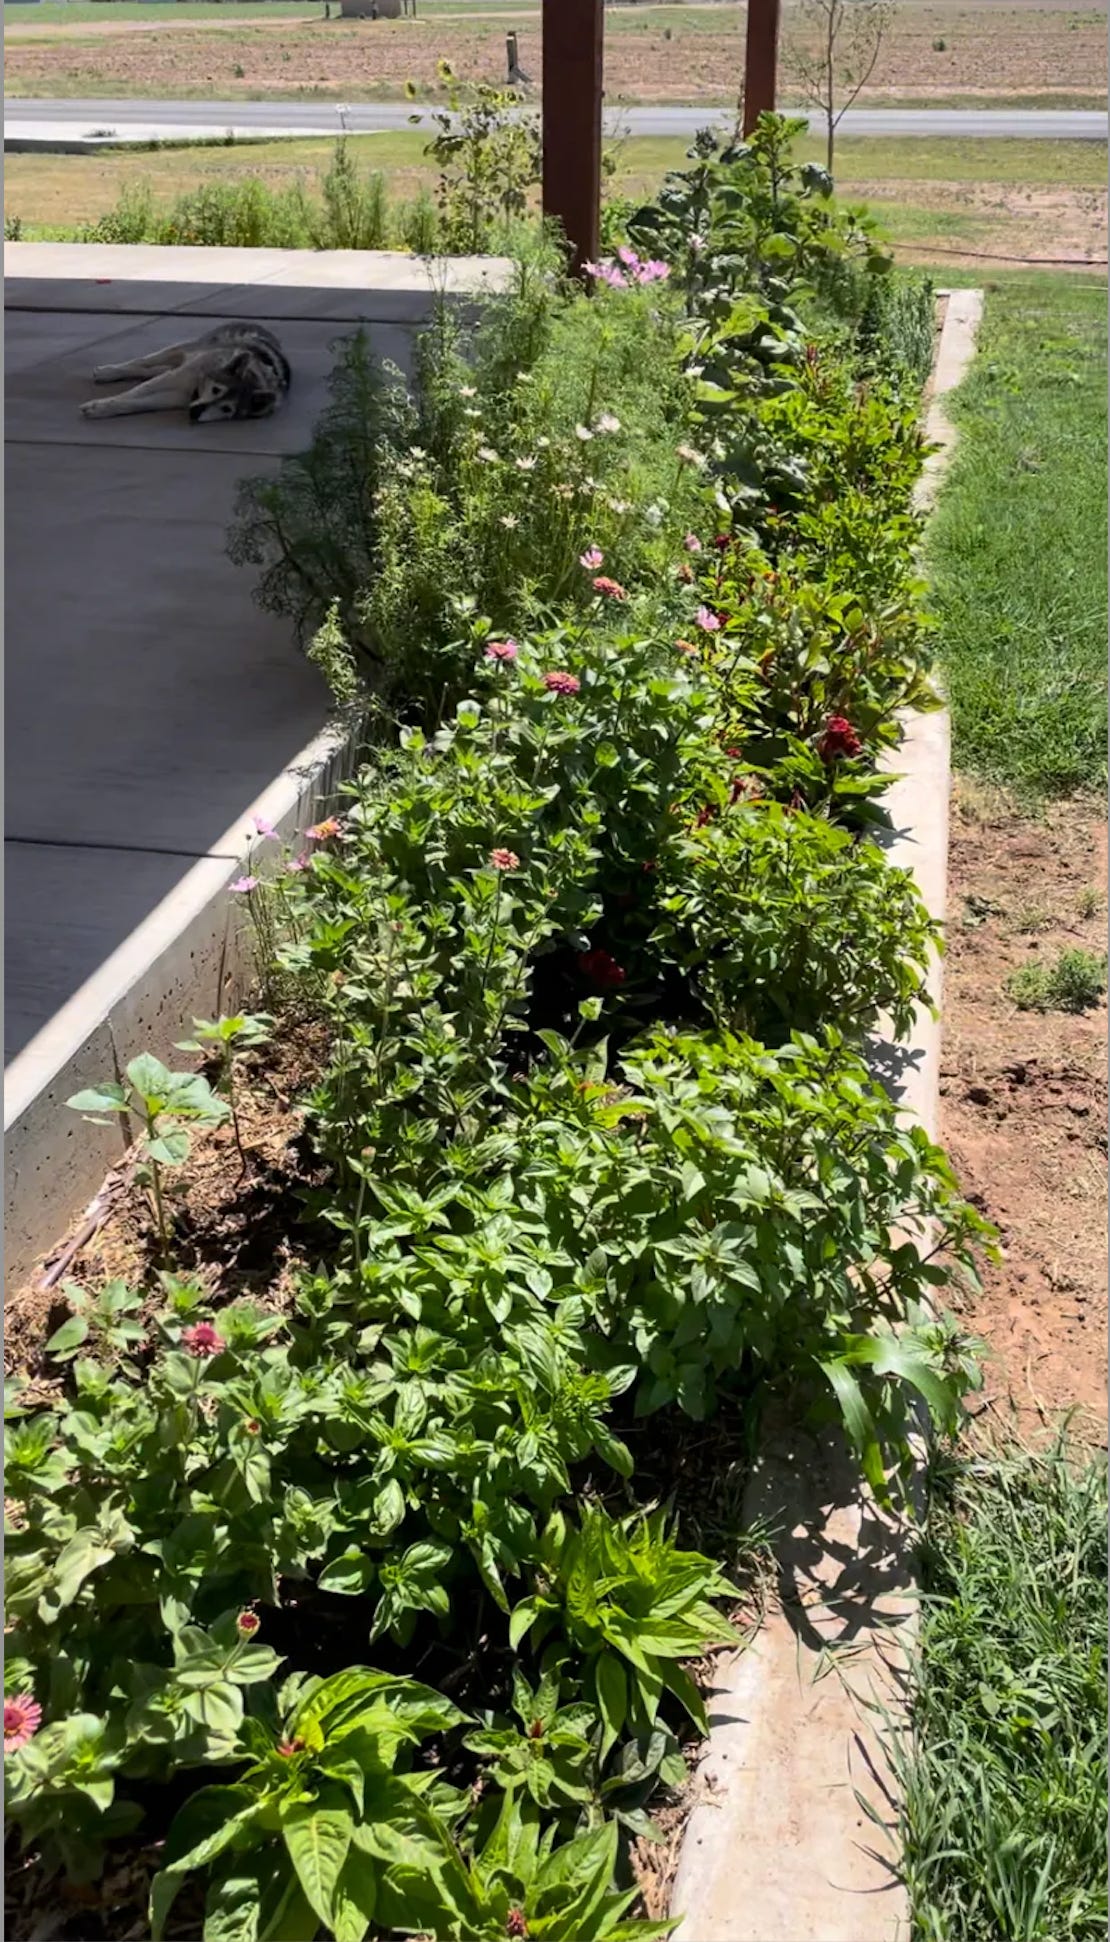
Hi! My name is Rachel. I am a flower-lover, novice-gardener, and aspiring homesteader. My husband, four children and I live on 10 acres in the rural area of Lubbock County. We renovated an old farmhouse and have lived on our land for nearly two years and enjoy caring for our 40 chickens, two turkeys, two cats, a steer, and a dog. We planted a small orchard of peach and apple trees and created garden areas for flowers and veggies. This is also our first season of greenhouse gardening with a small window greenhouse we built in the fall. We love the slow pace of country living and are preparing for another year of beautiful flowers and fresh produce from our land. Seed-starting is a must for us and gave us the head start we needed last year to have a productive garden.

Why start seeds indoors?
So why even start seeds indoors in the winter? Wouldn’t it be easier to just wait until the last frost date and put seeds directly in the soil of the garden?
These were questions I asked when introducing myself to seed starting. To put it simply, Texas is hot. We can see over 100 degree days in June and the heat does not subside until September. Many plants that are too young will not produce flowers and fruit in such temperatures. Plants started as seeds in April will unlikely be mature enough before this heat begins.
I also learned that in order to fill my gardens with flower and vegetable plants that would be healthy and established before the heat of summer came, I would either need to buy mature seedlings from the store, or start my own seeds ahead of time. Seeing as store-bought Burpee seedlings can be anywhere from $4-$12 each, I’d need to spend hundreds of dollars on seedlings to fill my garden space. Seeds it was.
What basic supplies do I need?
Seed starting trays or pods (Ferry-Morse or Jiffy work fine)
Seeds ( My favorite seed companies are Johnny’s Seeds and Baker Creek)
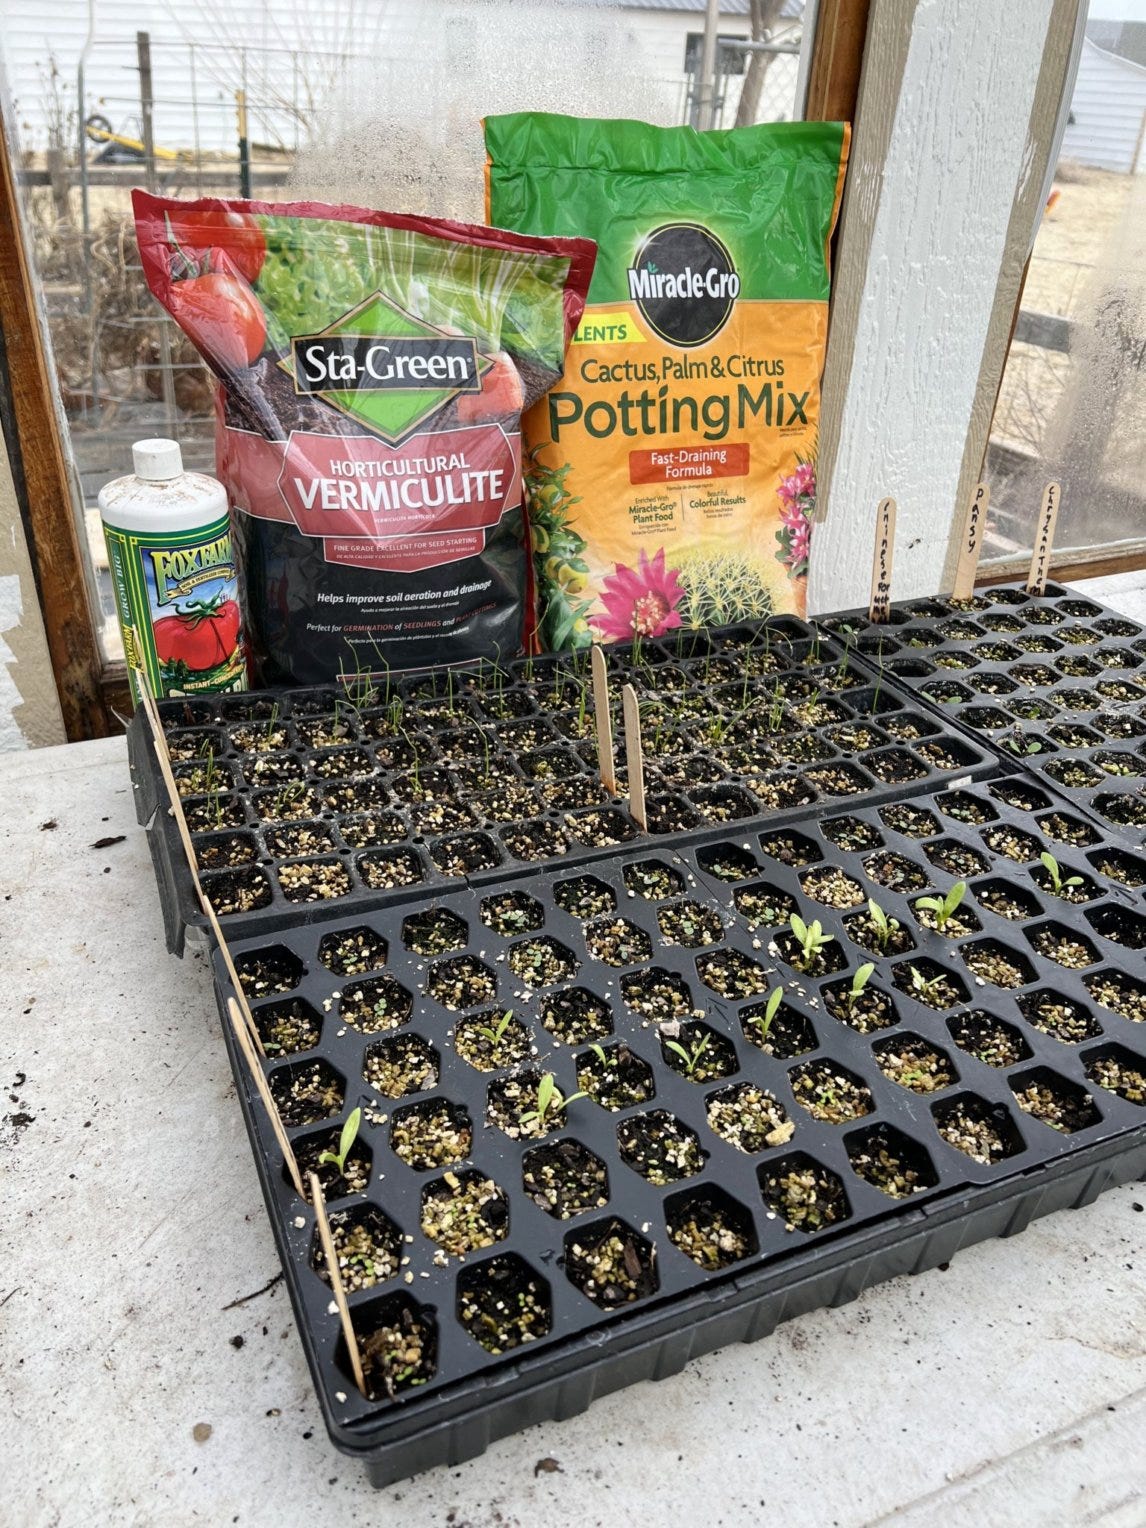
Seed-starting mix ( Miracle-Gro Seed-Starting Mix or Miracle-Gro Cactus, Palm, and Citrus Potting Mix)
Grow lights, shop lights, greenhouse or just a sunny window
5. Vermiculite- horticultural and fine grade (OPTIONAL)
Starting Your Seeds
Not sure when to start? As a beginner myself, I routinely check what TheDallasGardenSchool is doing. Check out her website or Instagram page. I learned much of how to start seeds from her and she is routinely posting on what we should be planting right about now, indoor and out! Keep in mind, that our growing zone (7b) is one colder than she is in Dallas so what she may be starting right now, we may want to wait a week or two for. She’ll be putting her tomato seedlings in the ground in March where we would likely want to wait until very early April.
So for February, in order to get them mature enough to plant and withstand our lovely West Texas wind, we need to be starting our tomatoes.
Water your soil mix so that it is moist and easy to work with.
Fill your seed tray pods with the soil.
As per the directions specific to your seeds, sow 1-2 seeds in each pod. Be sure to put seeds at the correct depth. Seeds needing to be sown on the surface or “covered lightly” can have a fine layer of seed starting mix OR vermiculite layered on top. I like to use vermiculite on all my seeds to prevent green algae growth on the surface, but I have successfully grown seedlings without it.
Keep your trays moist. You can place the clear plastic cover over the tray to keep the moisture up and be sure to lightly water to keep soil from drying out. Seeds that dry out will not germinate so keep an eye on them! In our climate, I usually water once every other day.
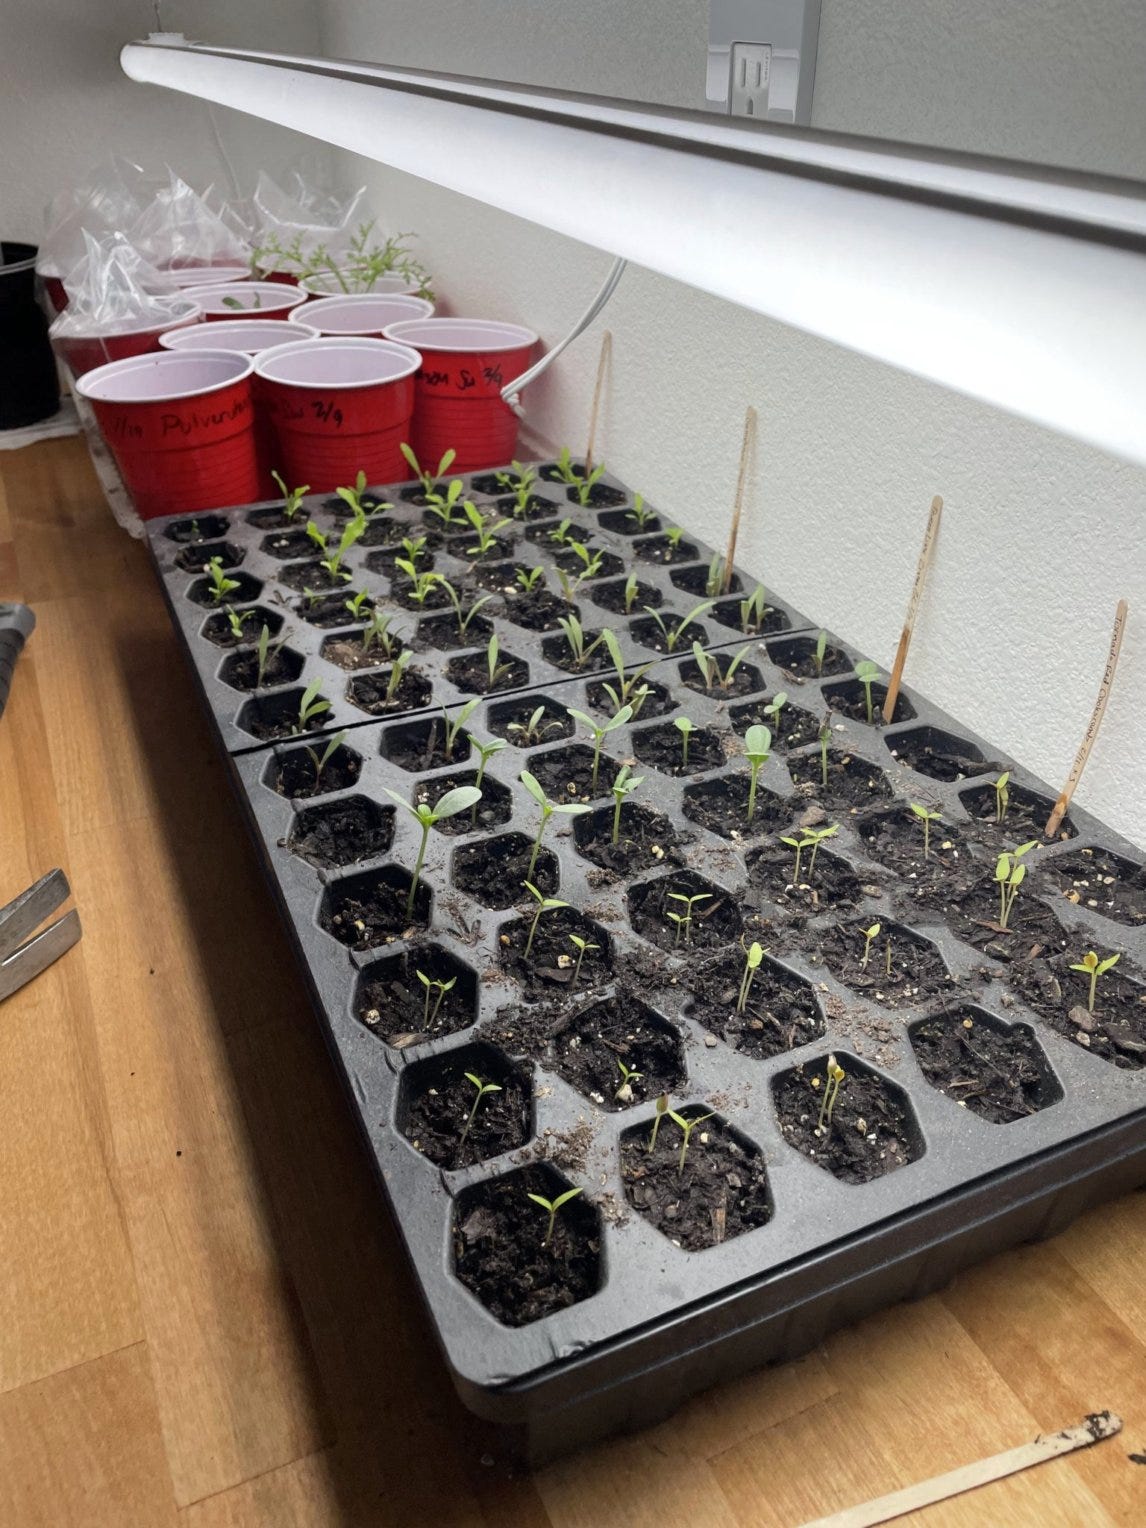
Once your seedlings emerge, do a happy dance. Congratulations! Keep them watered and watch them grow.
What’s next?
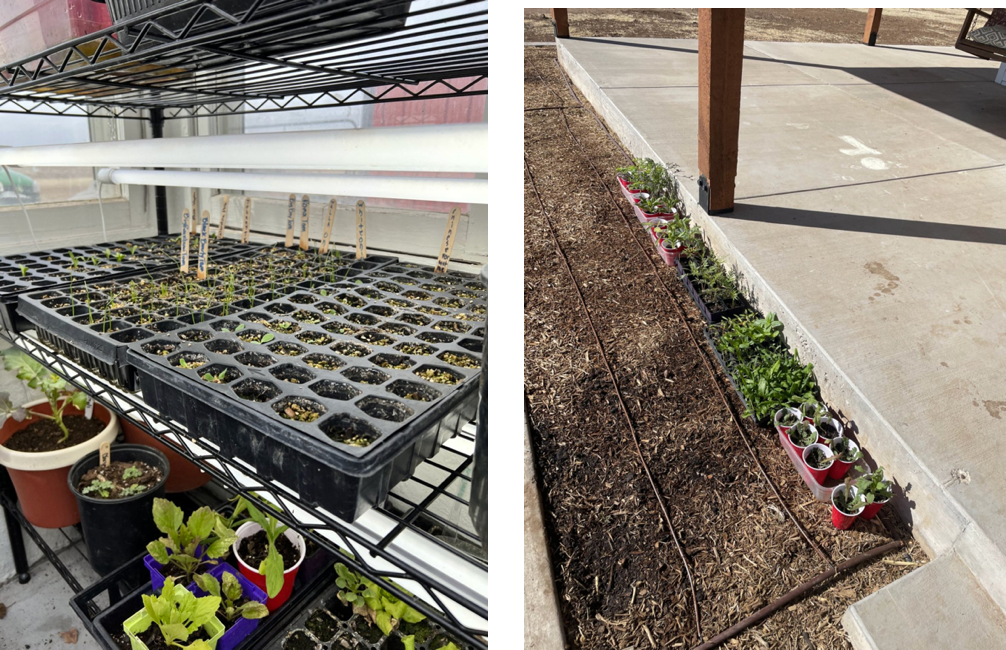
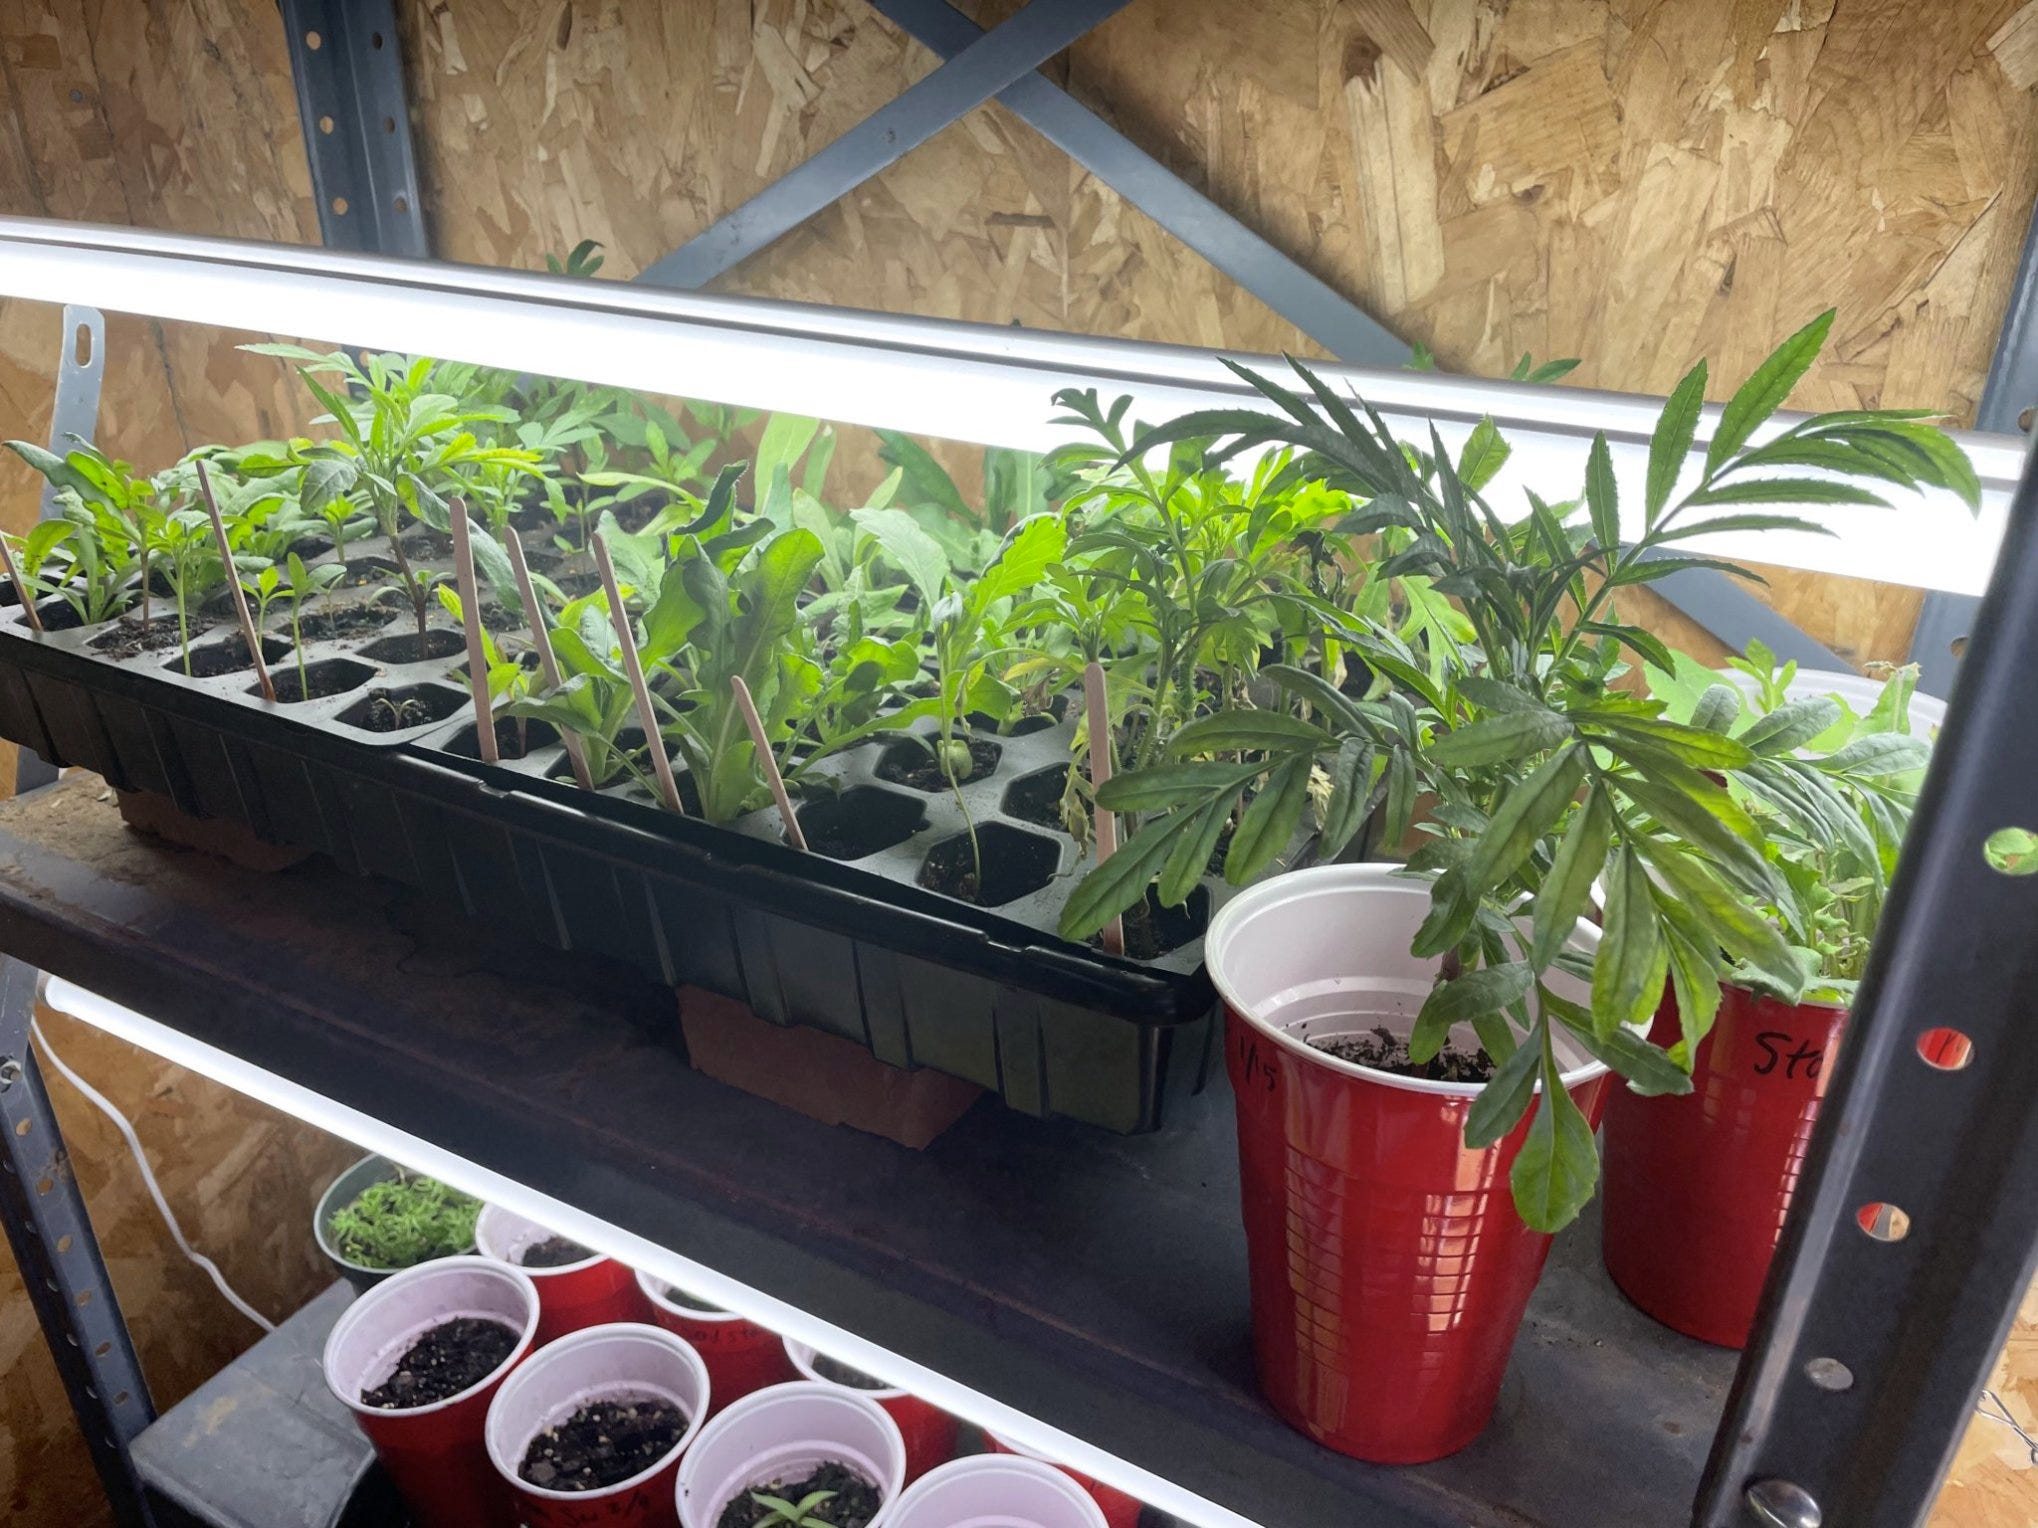
Seed starting is an art that is incredibly fun and rewarding to learn. Once the plants have more than their two seed leaves, they can be given a diluted liquid fertilizer and thinned ( removing all but one healthy seedling). You may want to “pot up” your plants into a larger container to allow more room for root growth (I use red solo cups). They will also need to be “hardened off” before put into the garden. This is the process of bringing your seedlings outside into the elements of the sun and wind for small and increasing periods of time before they are officially ready to be planted into the ground. Find more tips on all these aspects of seed starting at TheDallasGardenSchool. You can also follow me and our homestead adventures on instagram @PrunedandPressed. Happy Sowing!
In the Kitchen with Katie
This week’s recipe is from Katie @heartscontentfarmhouse. We are eager to try these treats. For more yummy recipes, follow Katie to see more lovely creations coming out of her Virginia kitchen.

Soft Stovetop Caramels
16 ounces brown sugar
14 ounce can sweetened condensed milk
1 cup corn syrup
1 cup Butter
½ teaspoon salt
1 teaspoon vanilla
Line a 9 x 9 dish with parchment paper and set aside.
Place butter, corn syrup, sweetened condensed milk, and salt salt Bring the mixture to a boil, then cook, stirring frequently, until candy thermometer reads 236 degrees (soft ball stage)
Remove from heat, add vanilla, and stir until smooth and no longer bubbling, less than 1 minute. Immediately pour into your prepared dish and let it cool completely, for four hours or more.
Cut into one-inch squares using buttered knife. Wrap in wax paper and store at room temperature.
**** Make sure to use a candy thermometer and read it at eye level. ***
Preserving with Malerie
It’s highly unlikely to have anything fresh coming out of the garden this time of year. We aren’t typically in “canning mode”, but we can use this time to do a different kind of preserving. Let’s call it Fill the Freezer February! When you’re in the kitchen on a Saturday morning pouring pancakes on the griddle, double that batch and pour extra for the freezer. Your future self will thank you. In our home we use hand milled whole wheat flour for an extra nutty flavor and nutrient dense cake. To really take it over the top, I add pureed pumpkin from last summer’s harvest (previously preserved in the freezer). Here’s our favorite recipe:

Fluffy Pumpkin Pancakes
INGREDIENTS
Yield: 12 to 14 (3½-inch) pancakes
1½cups whole wheat flour (can substitute A/P flour)
2tablespoons sugar
1½teaspoons baking powder
¾teaspoon baking soda
¾teaspoon kosher salt
1½teaspoons ground cinnamon
1teaspoon ground ginger
⅛teaspoon freshly grated nutmeg
1½cups buttermilk
¾cup pumpkin purée
2eggs
3tablespoons melted butter, plus more for greasing the skillet
1teaspoon vanilla extract
DIRECTIONS
Step 1
In a large bowl, whisk the flour, sugar, baking powder, baking soda, salt and spices together until well combined.
Step 2
In a medium bowl, whisk the buttermilk, pumpkin purée, eggs, melted butter and vanilla extract until well combined.
Step 3
Add the wet ingredients to the dry ingredients and gently fold with a rubber spatula until just combined. (A few small lumps are O.K.)
Step 4
Heat a lightly greased griddle or nonstick skillet over medium-low heat. Drop the pancakes into the pan by the ¼ cup, making sure to leave plenty of room in between for the batter to expand.
Step 5
Cook for a minute or two, until the batter bubbles at the edges and browns on the bottom, then carefully flip. Cook another minute or two, until the batter is completely cooked through and the pancakes are puffy and deep golden brown. Repeat until all of the batter is used. Serve the pancakes as you make them or keep the pancakes warm as you cook them by setting them on a baking sheet in a 250-degree oven.
original recipe adapted from n.y. times
Helpful Homemaking
Skip the chemical filled detergents and jump on the homemade laundry detergent bandwagon. I’ve provided you with a simple DIY detergent that leaves your clothes clean and fresh.
Monthly challenge

I'm new at homesteading too! This year is my second season and I am loving the experience, hopefully your seedlings are doing well. I transplant my broccoli and cauliflower next weekend! So fun!